This week I made a new cover for our backyard sandbox. The old one finally ripped – after four consistent years of loving use.
I never thought I wanted to build a ‘sand-mess’ in my yard, but then I finally caved to my husband’s pleas. He has such fond childhood memories of sandbox digging that I agreed to hatch a plan for our own boys that would make us all happy. Turns out to be one of our best projects: It entertains the boys and their friends for hours!

We took 7 deck composite boards and fashioned a simple rectangle with small cross boards in the corners that also serve as handy little seats. Then we staked it into the ground and lined the bottom with some weed-block garden fabric. We dumped in a small load of beach sand and called it good.
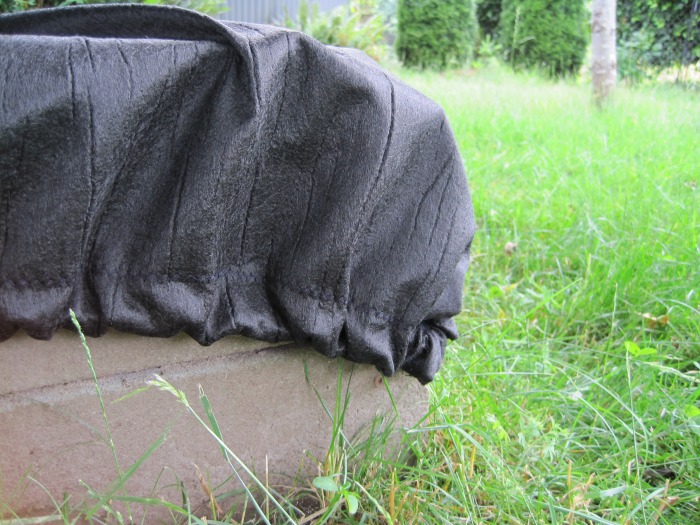
The cover of any sandbox is vital to keeping the neighborhood kitties away. I wanted something cheap, as un-ugly as possible, and easy enough to use that the kids could take it off-and-on all by themselves. I came up with the simple easy solution of sewing a fitted-sheet-like design from the underlayment fabric used in decorative ponds. Rain water passes right through, the tough fabric stands up well to daily uncovering and tugging from kids and it keeps out unwanted guests/leaves/etc.
A few tips for those forging this same path:
1) Composite boards are more expensive but, wonderfully, will not give little fingers any splinters, and never need to be painted/varnished. They are definitely worth the extra change.
2) Only buy beach sand! Call all over town but don’t believe it when folks tell you masonry sand work just fine. Only true beach sand is easy to clean up and feels great in between your toes.
3) The underlayment fabric can be bought at Home Depot in the gardening section and is cut from huge rolls. Pour water on the fabric to make sure you have the right stuff before purchasing- the water should drain through.
4) Inside the cover I used simple bungee cord. I bought mine at Salem Tent and Awning who even sewed the edges together for me, as my little machine at home had trouble.
4) Hit your local second hand store or garage sale for old trucks, shovels, animal figurines etc… The old metal ones are cool – but if you plan to leave them out year round buy plastic so you don’t have to deal with rust.
 RSS Feed