• NW Kid Chaser
  • At Home
  • On the Go
  • In the Stacks
  • Contact
  • Subscribe
  • Search

  NW Kid Chaser

Winter Wonderland Craft...

12/19/2013

0 Comments


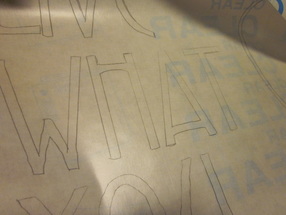
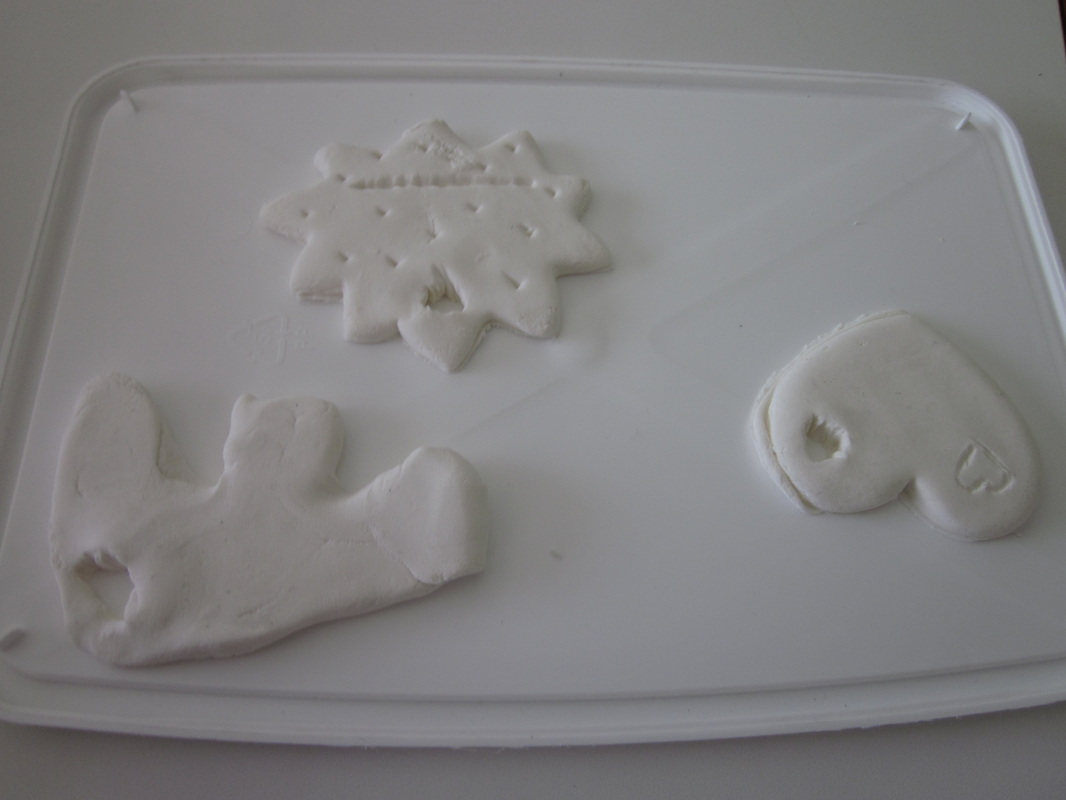
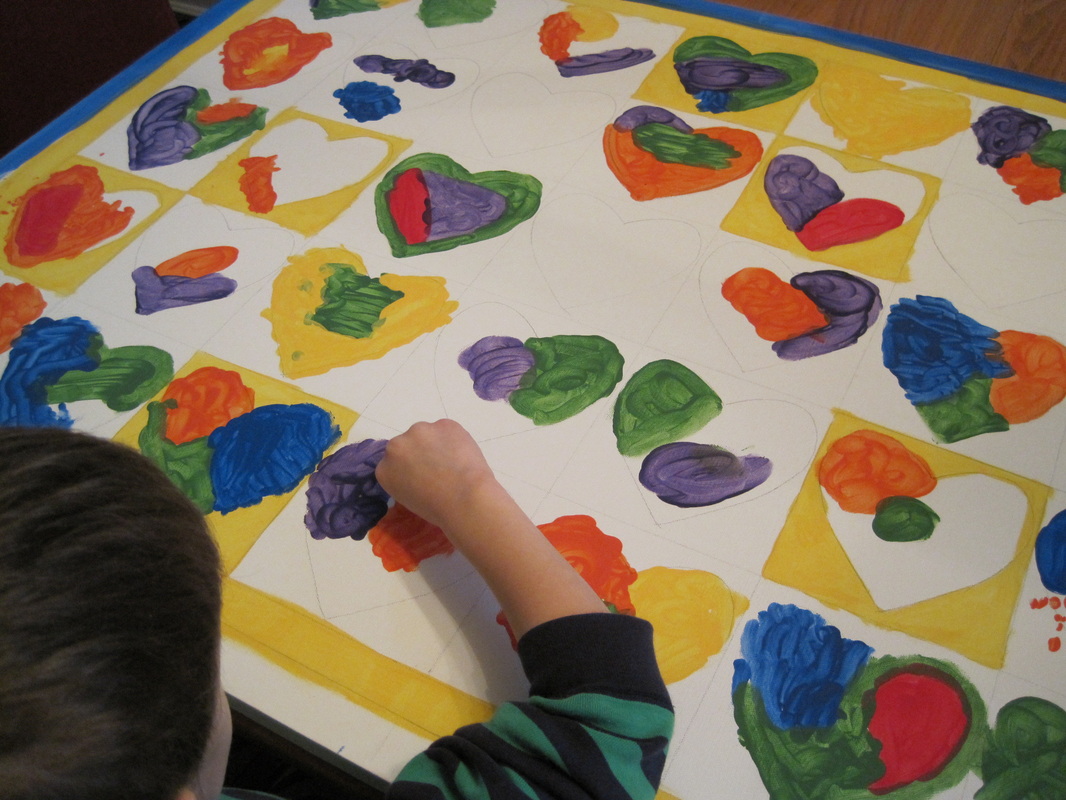
    My 6th grade son recently came home with a craft project from school that is perfect for the winter holiday season.

Picture
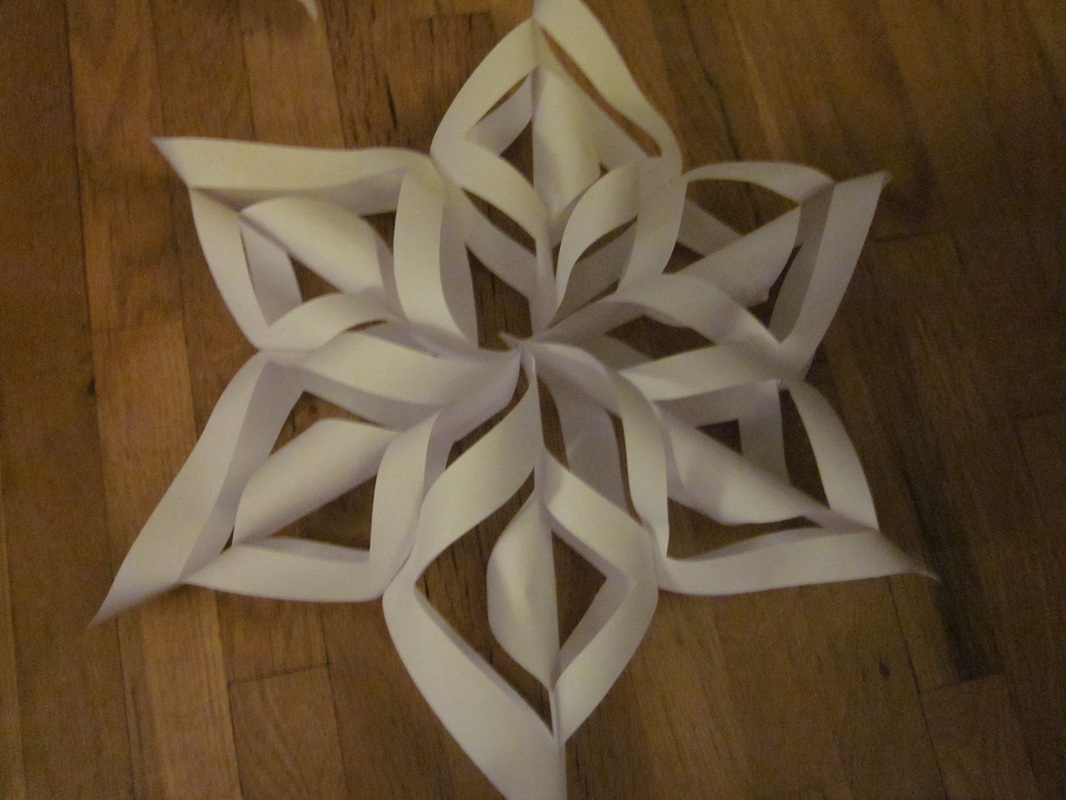
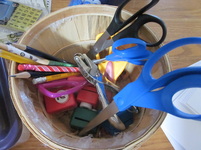
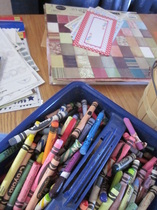
       Easy and inexpensive, this quick craft made impressive decorations and can be sized for windows, trees, or door decorations. Proud of his discovery, my son prepped all the materials (paper, scissors, tape, stapler) in our front room, and gave everyone in the family a tutorial.  He was a great teacher!

    Now looking around town, I see we are not the only family who likes this craft. Do you want to join the fun? Here's a Youtube video by
kongo204 with all the details:

0 Comments

Tie-Dye Nation...

9/22/2013

0 Comments

 
At the end of the summer, Neighbor Toni gathered all the gang for a tie-dye party.  Now, we all now look as stylish as can be in our fresh, bright, tie-dye creations.


Here's the gist of this fun project:

First: Find a pale colored or white clothing item (Do you still have a shirt left over from the great spaghetti sauce incident of 2012? No problem:White shirts with small stains work great for this project! Warning: Items made with less than 60% cotton won't hold they dye.)

Next: Soak your items for 20 minutes in a soda ash/water mixture.

Then: Take your damp (not soaked) item and choose your pattern. There's the classic spiral, the polka-dot, the stripes, and the free-for-all. Here's a great tutorial on how to create each fabulous effect: Tie Dye Basics.

Finally: Using ketchup bottles filled with liquid dye - squirt on your color combinations. (Neighbor Toni tells me that the fabric dyes at the Art Dept. are top of the line!)

The clothing should then sit in a plastic bag for about 24 hours. Once set, rinse the item in cold water until all the extra dye is released (and the water runs clear). Then throw it all into the washer for washing.  (Be careful this first time with your choice of other items in the washer. However, after that - you can wash with your regular clothes without incident.)

Every piece of clothing turns out an original and there is no 'wrong' way to mix your colors.

Hooray tie-dye!
Hooray neighborhood fun!
Picture
Picture
Picture
Picture
0 Comments

Ever-Changing Decor...

3/24/2013

1 Comment

 
I feel like my to-do list is always much longer than I want it to be... but upon review, one thing is clear: I still have more time than money.

I’ve often seen the great custom vinyl lettering available for wall quotes and art. Here’s a free décor idea that I received from DIY savvy Jessica:


Picture


1) Print out the design or letters you desire on your home printer. Then transfer the stencil to clear shelving paper by tracing the letters using carbon paper.


Picture


2) Paint.

Picture


3) Cut.

Picture


4) Stick to the wall.

  I had all the needed items already on hand – so without an additional dime, I had the exact quote I wanted for my wall. Added bonus: I can use this method to post ever-changing quotes.

    This quote has been on the wall for over a year and hasn't shown any signs of peeling. Hooray DIY!

1 Comment

Tis the season...

11/22/2012

0 Comments

 
Looking for homemade Christmas gifts for Grandma? 
Dad?
Friends?
Look no further...
Here's a few ideas the neighborhood kids and I cooked up...


Picture
Picture
Picture
Picture
Picture
Picture
Paper, scissors, and old encyclopedias
=
Handmade one-of-a-kind cards!

Picture
Picture
Picture
Canvas panels + colors pencils and watercolors
=
One-of-a-kind wall art
!

Picture
Picture
Model Magic
=
Personalized Gift Tags!


Picture
Picture
Picture
Picture
Picture
Black letter cut-outs, a camera, and magnetic sheets
=
Groovy refrigerator magnets
!

Picture
Picture
Tagxedo + Dollar-Store picture frames
=
Word poems for those we love!


0 Comments

Monster Madness...

10/17/2012

0 Comments

 
Here's a great craft kit that makes a perfect gift, stocking stuffer, or special treat at Grandma's house.
Picture
The kit is designed so that you can create a few silly monsters for decoration and play. We then used the extra stickers to make home-made cards with silly, creative designs!
Picture
0 Comments

Family Art...

7/21/2012

0 Comments

 
     The art on the walls of our family home is homemade. It's made with our own hands, our own paint, our own crazy sense of whimsy.

      Nothing looks better to me than the kids’ school projects neatly framed and grouped together. My husband’s oil painting looks classy in the dining room and reminds me of quieter times (when he had the extra time & money to take an art class). I tend to think that each piece of "family art" (with its story, the adventure and related memory) makes our house a home.

The latest art to be placed in our home is this beauty:
Picture
      The overall design of this piece was inspired by a large canvas that had been created by a professional artist. The original was a masterful blend of colors and strokes. Our version (with it's many imperfections and rough edges) is much more dear to my heart.

Here’s how we made it:

1) I waited for the annual “half-off” canvas sale at our local art store and bought a large base for our project. There's just something about a large, white, blank canvas that sings "POTENTIAL!"

2) Using a yard stick and a template I made from cardboard, I traced a grid of blocks and hearts onto the canvas with a standard pencil.

3) I purchased a rainbow of basic craft paints and let my sons finger-paint in the various sections. I’d let them get creative with one color and a few days later (when the first had dried), we’d have another finger-paint session with a new color.

4) Little by little, the canvas filled until finally all the white had been covered and it was ready for the world (or at least those who enter our basement) to enjoy.


5) Taking a few blocks from the old toy box, we then named our creation. Looking closely at the finger smudges of paint created by my sons - I couldn't think of a title any more appropriate.
Picture
Picture
Picture
Picture
0 Comments

It's in my jeans...

3/15/2012

0 Comments

 
There has been a miracle at our house: a furniture miracle.

    I bought the ugliest loveseat in the history of upholstery. (Seriously – it hurt my eyes to look directly at it.)

    We needed a loveseat for our basement family room and this shameful specimen of furniture was the perfect size and cost. After visiting a variety of stores in search of a new couch, I found inspiration in this special item at a discount, second-hand store. It took courage to look past the fabric and see the potential: but my hubby and I were up to the task.
Picture
I told you it was ugly.
    Back to the miracle…. Here’s my trick for turning cheap ugliness into nifty livability: a jean slipcover. Homemade slip covers made from old jeans are easy, free, and darn comfortable to sit on.

Picture
     To make one, start by collecting your old jeans (and other ready-to-be-thrown-out denim from all your friends and family). Cut out a series of matching squares and rectangles.

Picture
Sew together the blocks to make long strips. Sew together the long strips to make panels of fabric. Then, Drape the panel (inside out) over your furniture item and pin as needed to fit.

Picture

     Sew along your pin lines and when you turn the fabric around, it will fit like a glove.

     To be 100% honest, I am what could be described as a just-enough-to-get-by seamstress. This means I typically throw my projects together with very little planning, my inside-seams are nothing fancy, and I’ve been known to rip out seams (multiple times) before I get it just right. But…. in the end I was able to unveil a comfy couch for the whole family under $35 (I told you it was the perfect cost).

       Bonus: when the kids spill rootbeer, paint, and bubble solution on this couch, I won’t be too concerned. I can tear off the slip cover (again avoiding direct sight of the hideous print underneath), throw it in the wash, and pull it back over when clean. Also, the boys can jump on the couch, tip the entire thing over while tackling their brother, and use the cushions for untold pillow fights and I again can look the other way. This couch can easily be replaced.


It’s the miracle of basement, child-proof,
cheap and easy furniture.

And I have two……
Picture
0 Comments

Eggcellent..

2/22/2012

0 Comments

 
     My family recently enjoyed the Sizzlin Science Festival here in Salem, organized by A.C. Gilbert Discovery Village. One of the events was the annual 'Egg Drop'. Engineers of all ages were invited to construct a contraption that would save an egg from the damaging effects of a fall from the Marion Street Bridge.

    This activity is perfect for home as well...
Step #1: Give each child/adult an egg, free rein of the recycling bin, and a whole lot of masking tape.
Step #2: Find a high place to release your creations.
Step #3: Begin your countdown.


    As the Discovery Village drop took place over bark dust, we brought our designs home to test on the hard concrete of our driveway. My youngest son and I formed Team Tough and followed two different strategies. We used fabric in both designs and focused on layers of "cushion."

Team Tough Designs:
Picture
My youngest took the lead on this design. First, he surrounded his egg with fabric within 2 styrofoam trays.
Picture
Next, he wrapped the trays with tape; again and again and again,
Picture
Last, the secured trays were places in a cereal box and then wrapped in large packaging pillows. More tape was added.
Picture
I came up this design: filled with fabric scraps and wrapped in twine.
  
     My older son and my husband made up Team Crusher. "I think you've misunderstood this activity's objective." I cautioned them.

Team Crushers' creations:
Picture
My oldest son, followed his brother's design but swapped a parachute for the outside padding.
Picture
My husband decided to try his luck with just two materials: balloons and tape.
Picture


Here at home, we launched
our designs from the upstairs window.... and had varied results.

Youth designs were 100% successful:
Picture
Hooray!!!!
Picture
Not a scratch!
Adults designs were clearly not:
Picture
Eeewwww!
Picture
Oh my, that's just messy!
0 Comments

Gingerbread Houses...

12/23/2011

0 Comments

 
        Every year after Halloween, I ask my boys to sort through their candy to find the treats they'd most like to save for decorating their Gingerbread Houses. The boys willingly give up some of their stash - knowing the fun that awaits them in December.

      This holiday break, we invited several neighbors over to join the fun. Every child brought their own house and some decorating items to share. I provided the frosting:

3 egg whites
3/4 tsp. cream of tartar
1 Lb. powdered sugar
Mix and mix and mix (then mix some more).
Place icing in sandwich bags and snip one corner to apply.
_      I'm happy to report a good time was had by all. The crew focused on their holiday home decor for just over an hour. After that, I noticed a distinct shift: the candy began to go in their mouths instead of on their houses.  ("Time to call it quits, my friends!").
0 Comments

Rediscovered Treasures…

12/17/2011

0 Comments

 
_        Many, many moons ago my sweet mother made a Christmas Countdown Calendar for me and my sister. I remember being delighted as a child when it was my turn to place an ornament on the tree. To my great fortune, I rediscovered this treasure a few years ago.
Picture
_             Now continuing the tradition with my sons, we take out the simple burlap and felt wall-hanging and add an ornament a day until Christmas arrives. I had to replace a few of the magnet strips and several of the original ornaments had been lost. So...I fashioned a few new ones. It’s amazing how crafty you can get with a few colors of felt and a bottle of craft glue. No special art-skills needed.
Picture
_How do you count down to the holiday?
0 Comments
<<Previous

    At Home

    Picture

    Categories

    All
    Abc
    Ages 10 And Over
    Ages 5 To 10
    Ages Birth To 5
    Animals
    Apps
    Beginning Readers
    Birthdays
    Books
    Crafts
    Dramatic Play
    Eating In
    Games
    Garden
    Giveaway
    History
    Holidays
    Kindle
    Math
    Movies
    Music
    On The Web
    Puzzles
    Recipes
    Robotics
    Science
    Service Projects
    Special Events
    Sports
    Writing

    RSS Feed

© 2009-2015 All Rights Reserved, NW Kid Chaser