Here’s an easy variation of mashed potatoes:
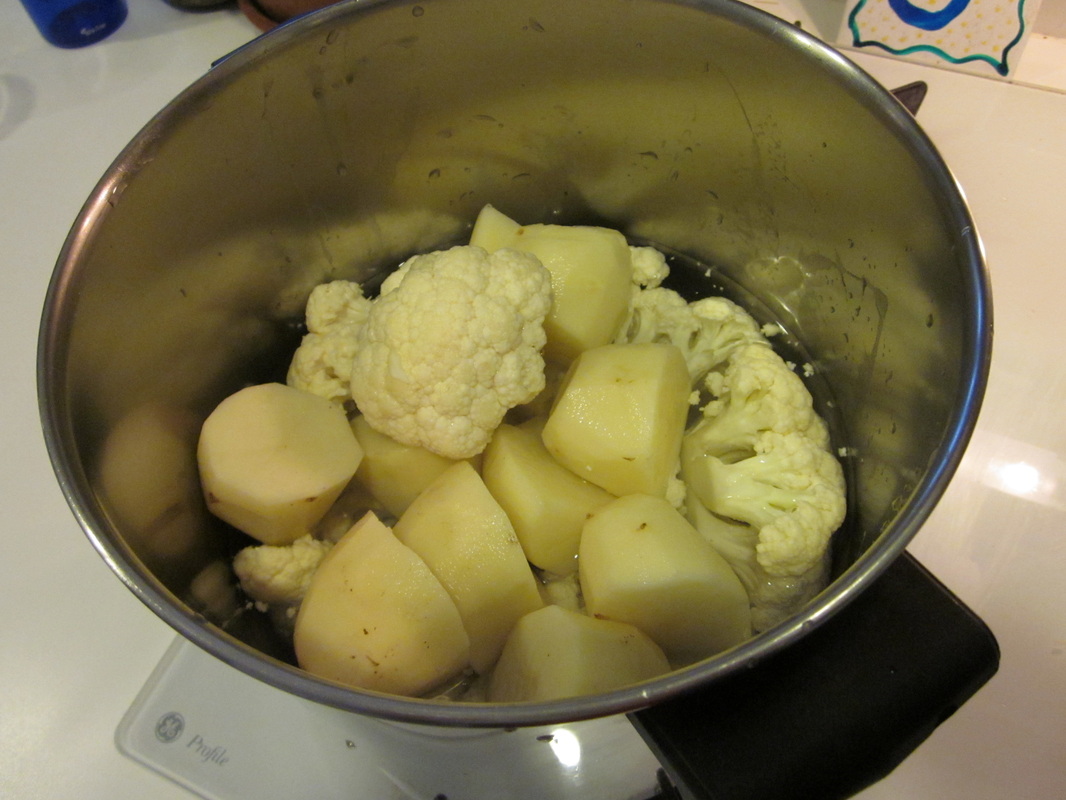
Yep. You see that right.
That’s cauliflower thrown into the same pot.
Boils just the same.
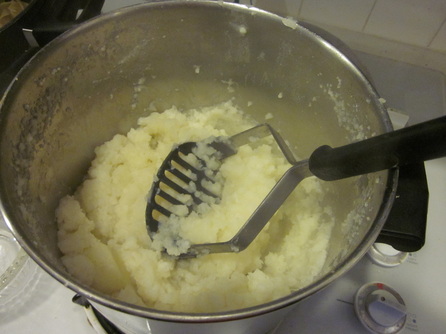
Mashes just the same.
Pretty much tastes the same.
But... it adds one more vegetable to our diet.
That’s cauliflower thrown into the same pot.
Boils just the same.
Mashes just the same.
Pretty much tastes the same.
But... it adds one more vegetable to our diet.
As my son says: "It's easy-peasy-lemon-squeezy!"


 RSS Feed