What is the most delicious way to start the summer?
With Strawberry Shortcake, of course!
Last week, we had the neighbors over for some summer yum.
Our recipe:
With Strawberry Shortcake, of course!
Last week, we had the neighbors over for some summer yum.
Our recipe:
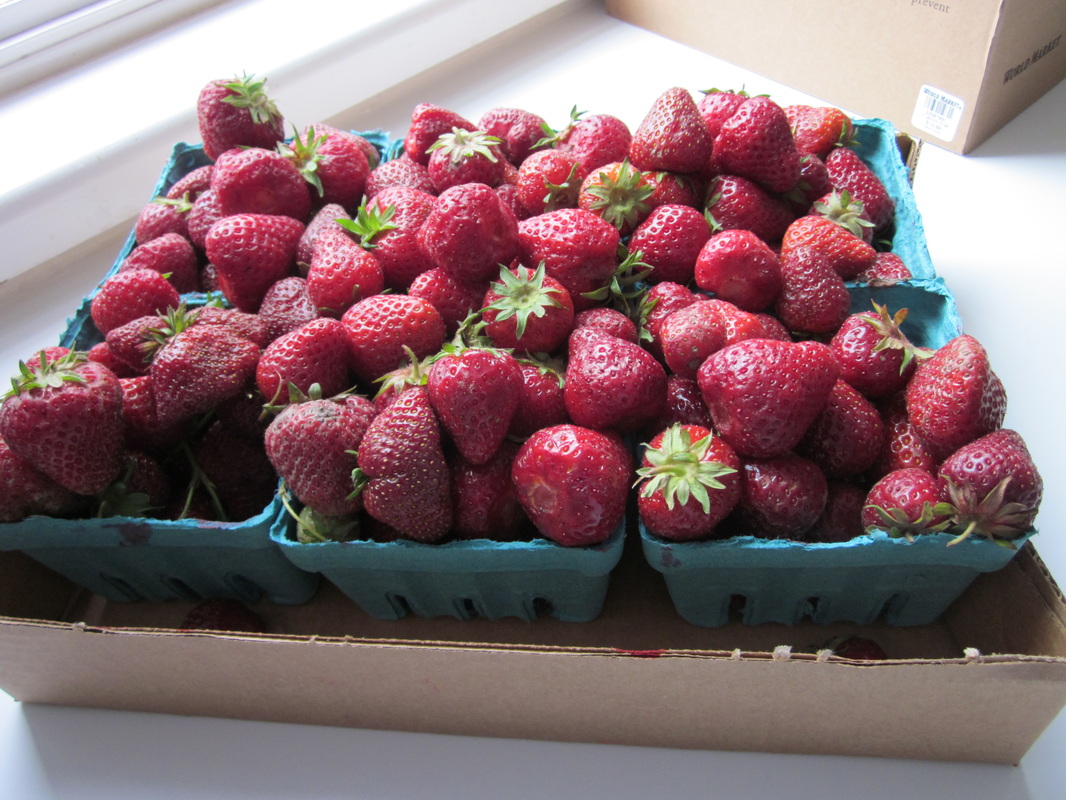
Fresh berries from our favorite local farm.
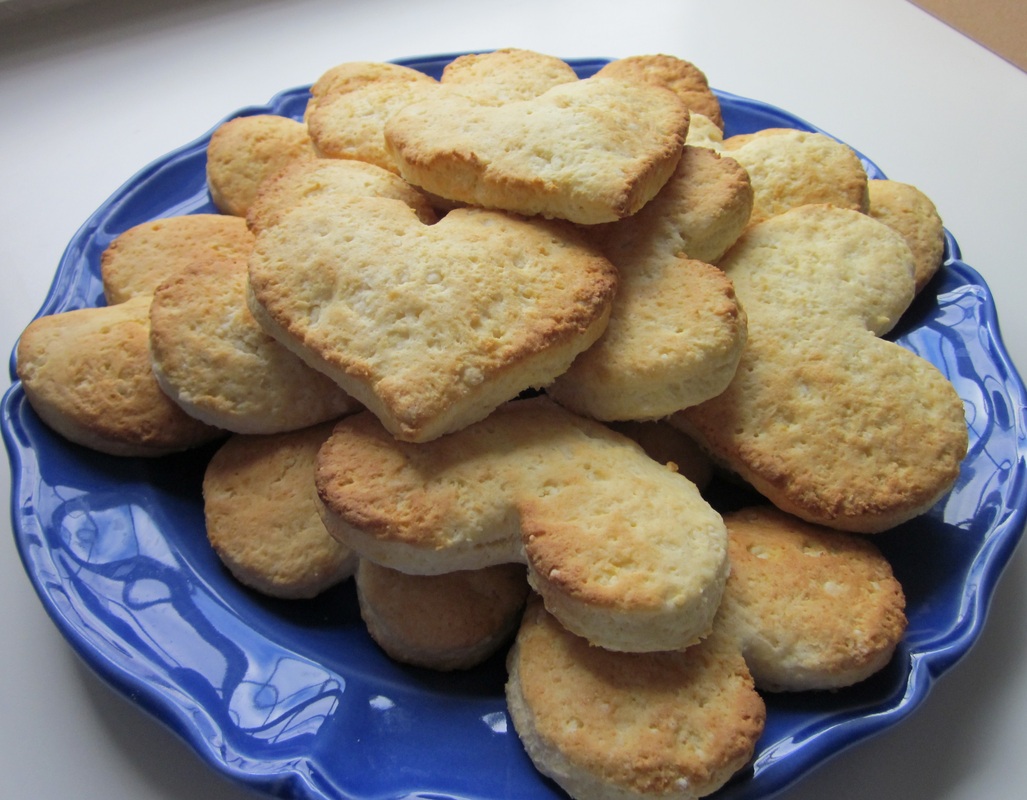
Fancy "baking mix" shortcakes made with a cookie cutter.
Sorry to not post a final product photo -
they were devoured immediately upon assembly!
they were devoured immediately upon assembly!


 RSS Feed